
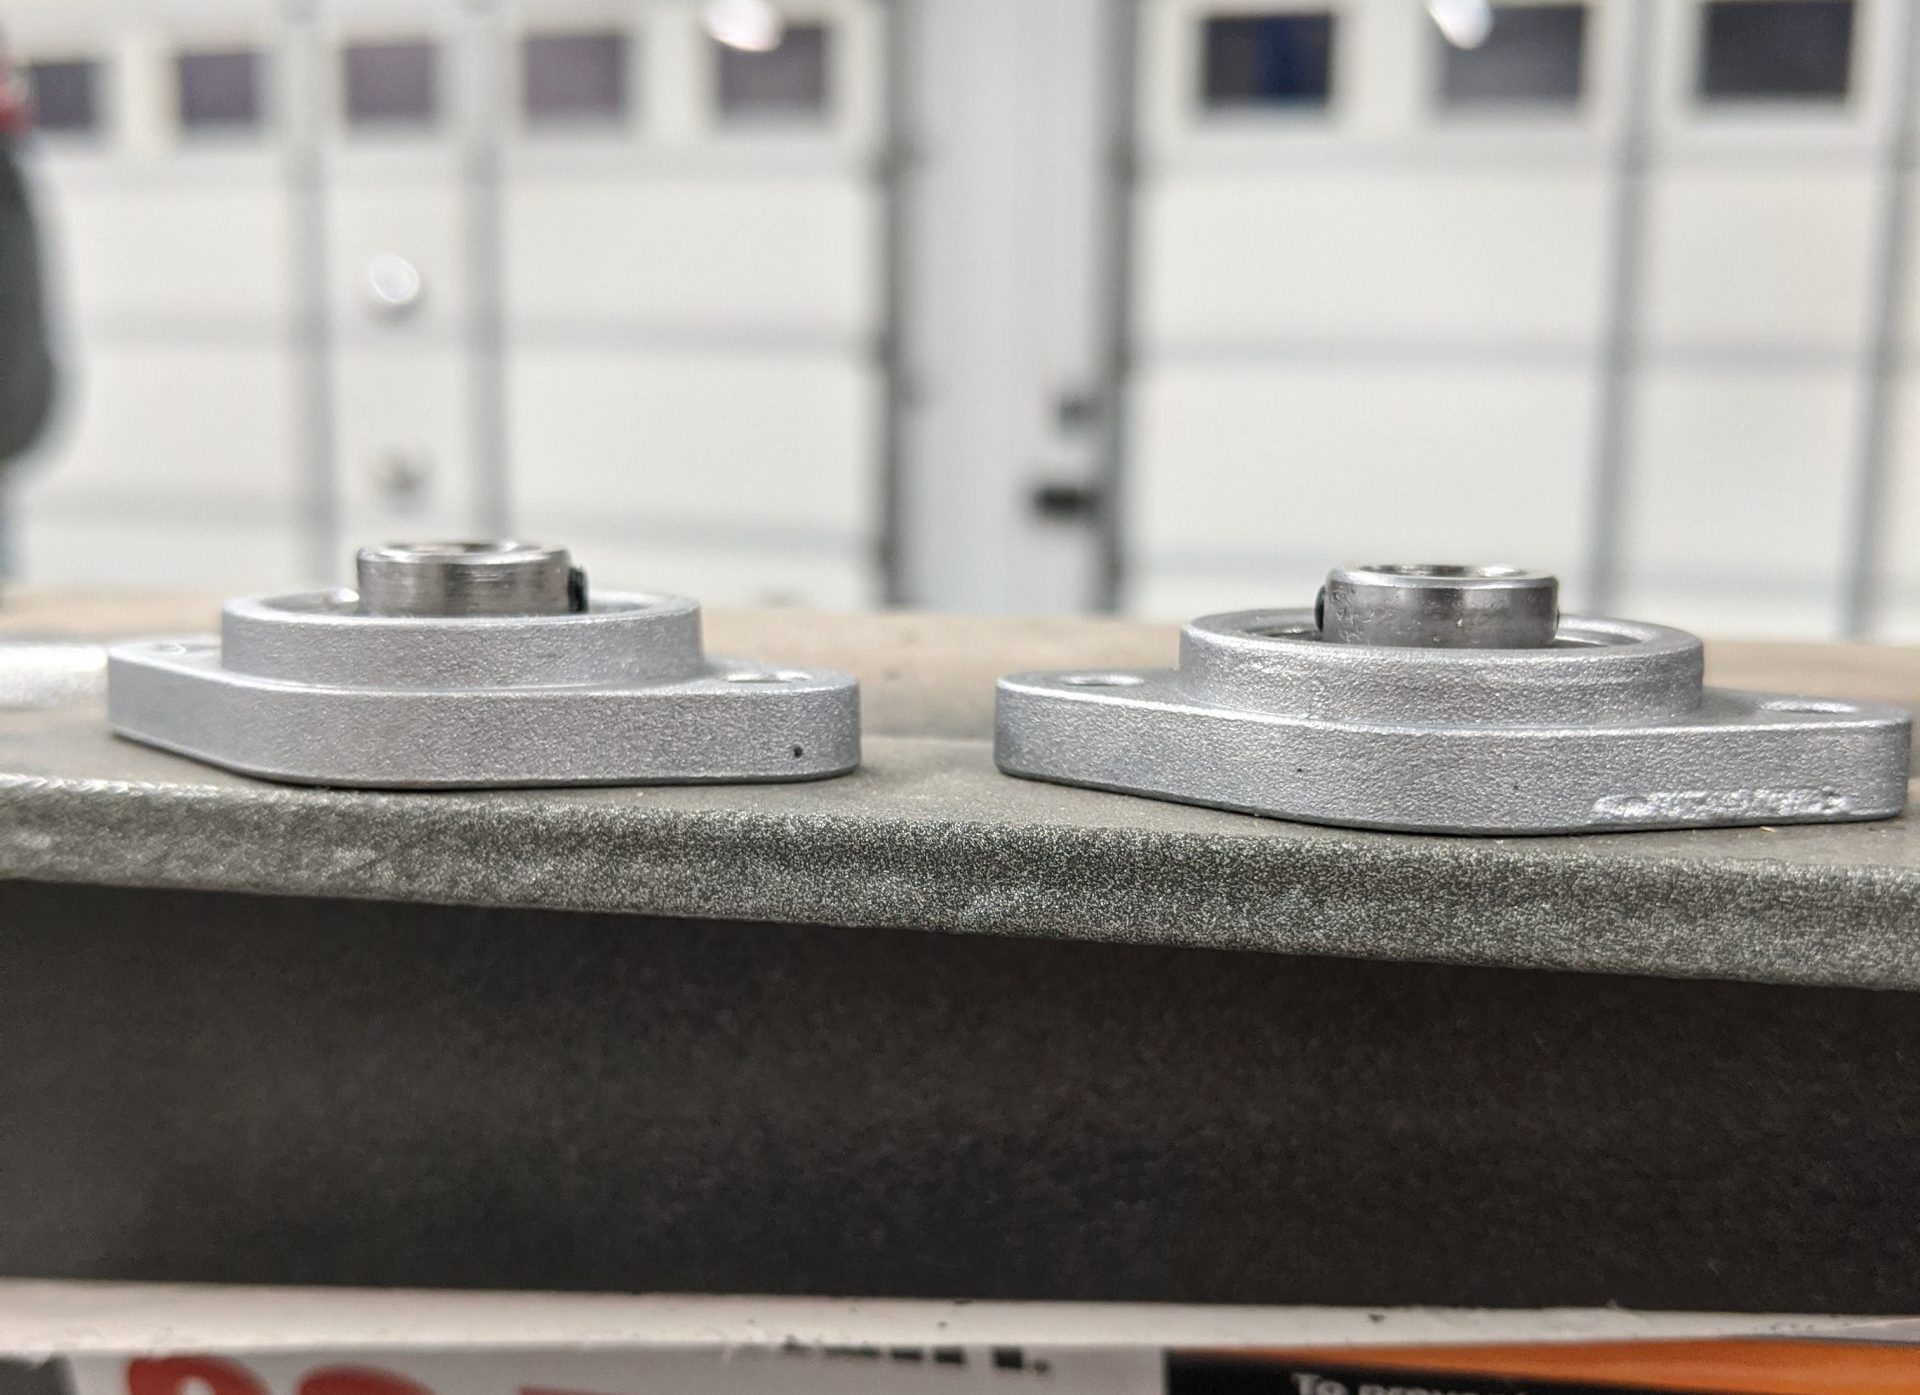
Last post I went over my research and design choices for the Z Axis Gantry. This post is some actual physical work for the printer! In my other post about my current parts list, I mentioned that the bearing blocks I will use to mount the lead screws came in extremely poor condition:
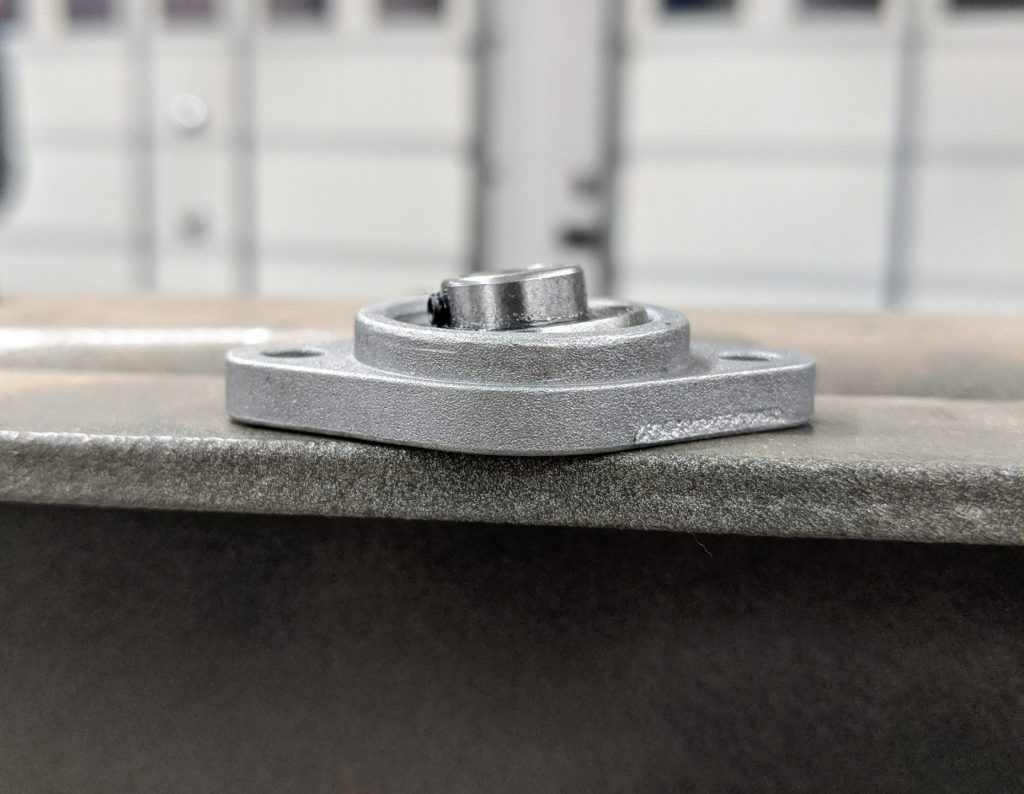
Pretty disappointing. Now this one was probably the worst of all the bearings, but the rest were not much better. So I had some other problems with my order from Banggood so I put in a request for a refund and have yet to hear back from them nearly 2 months later. Lol. So getting these returned/replaced is pretty much out of the question. I was going to order more, but I was going home for the holidays and was planning to do some work for my printer anyway, so might as well take a shot at fixing them.
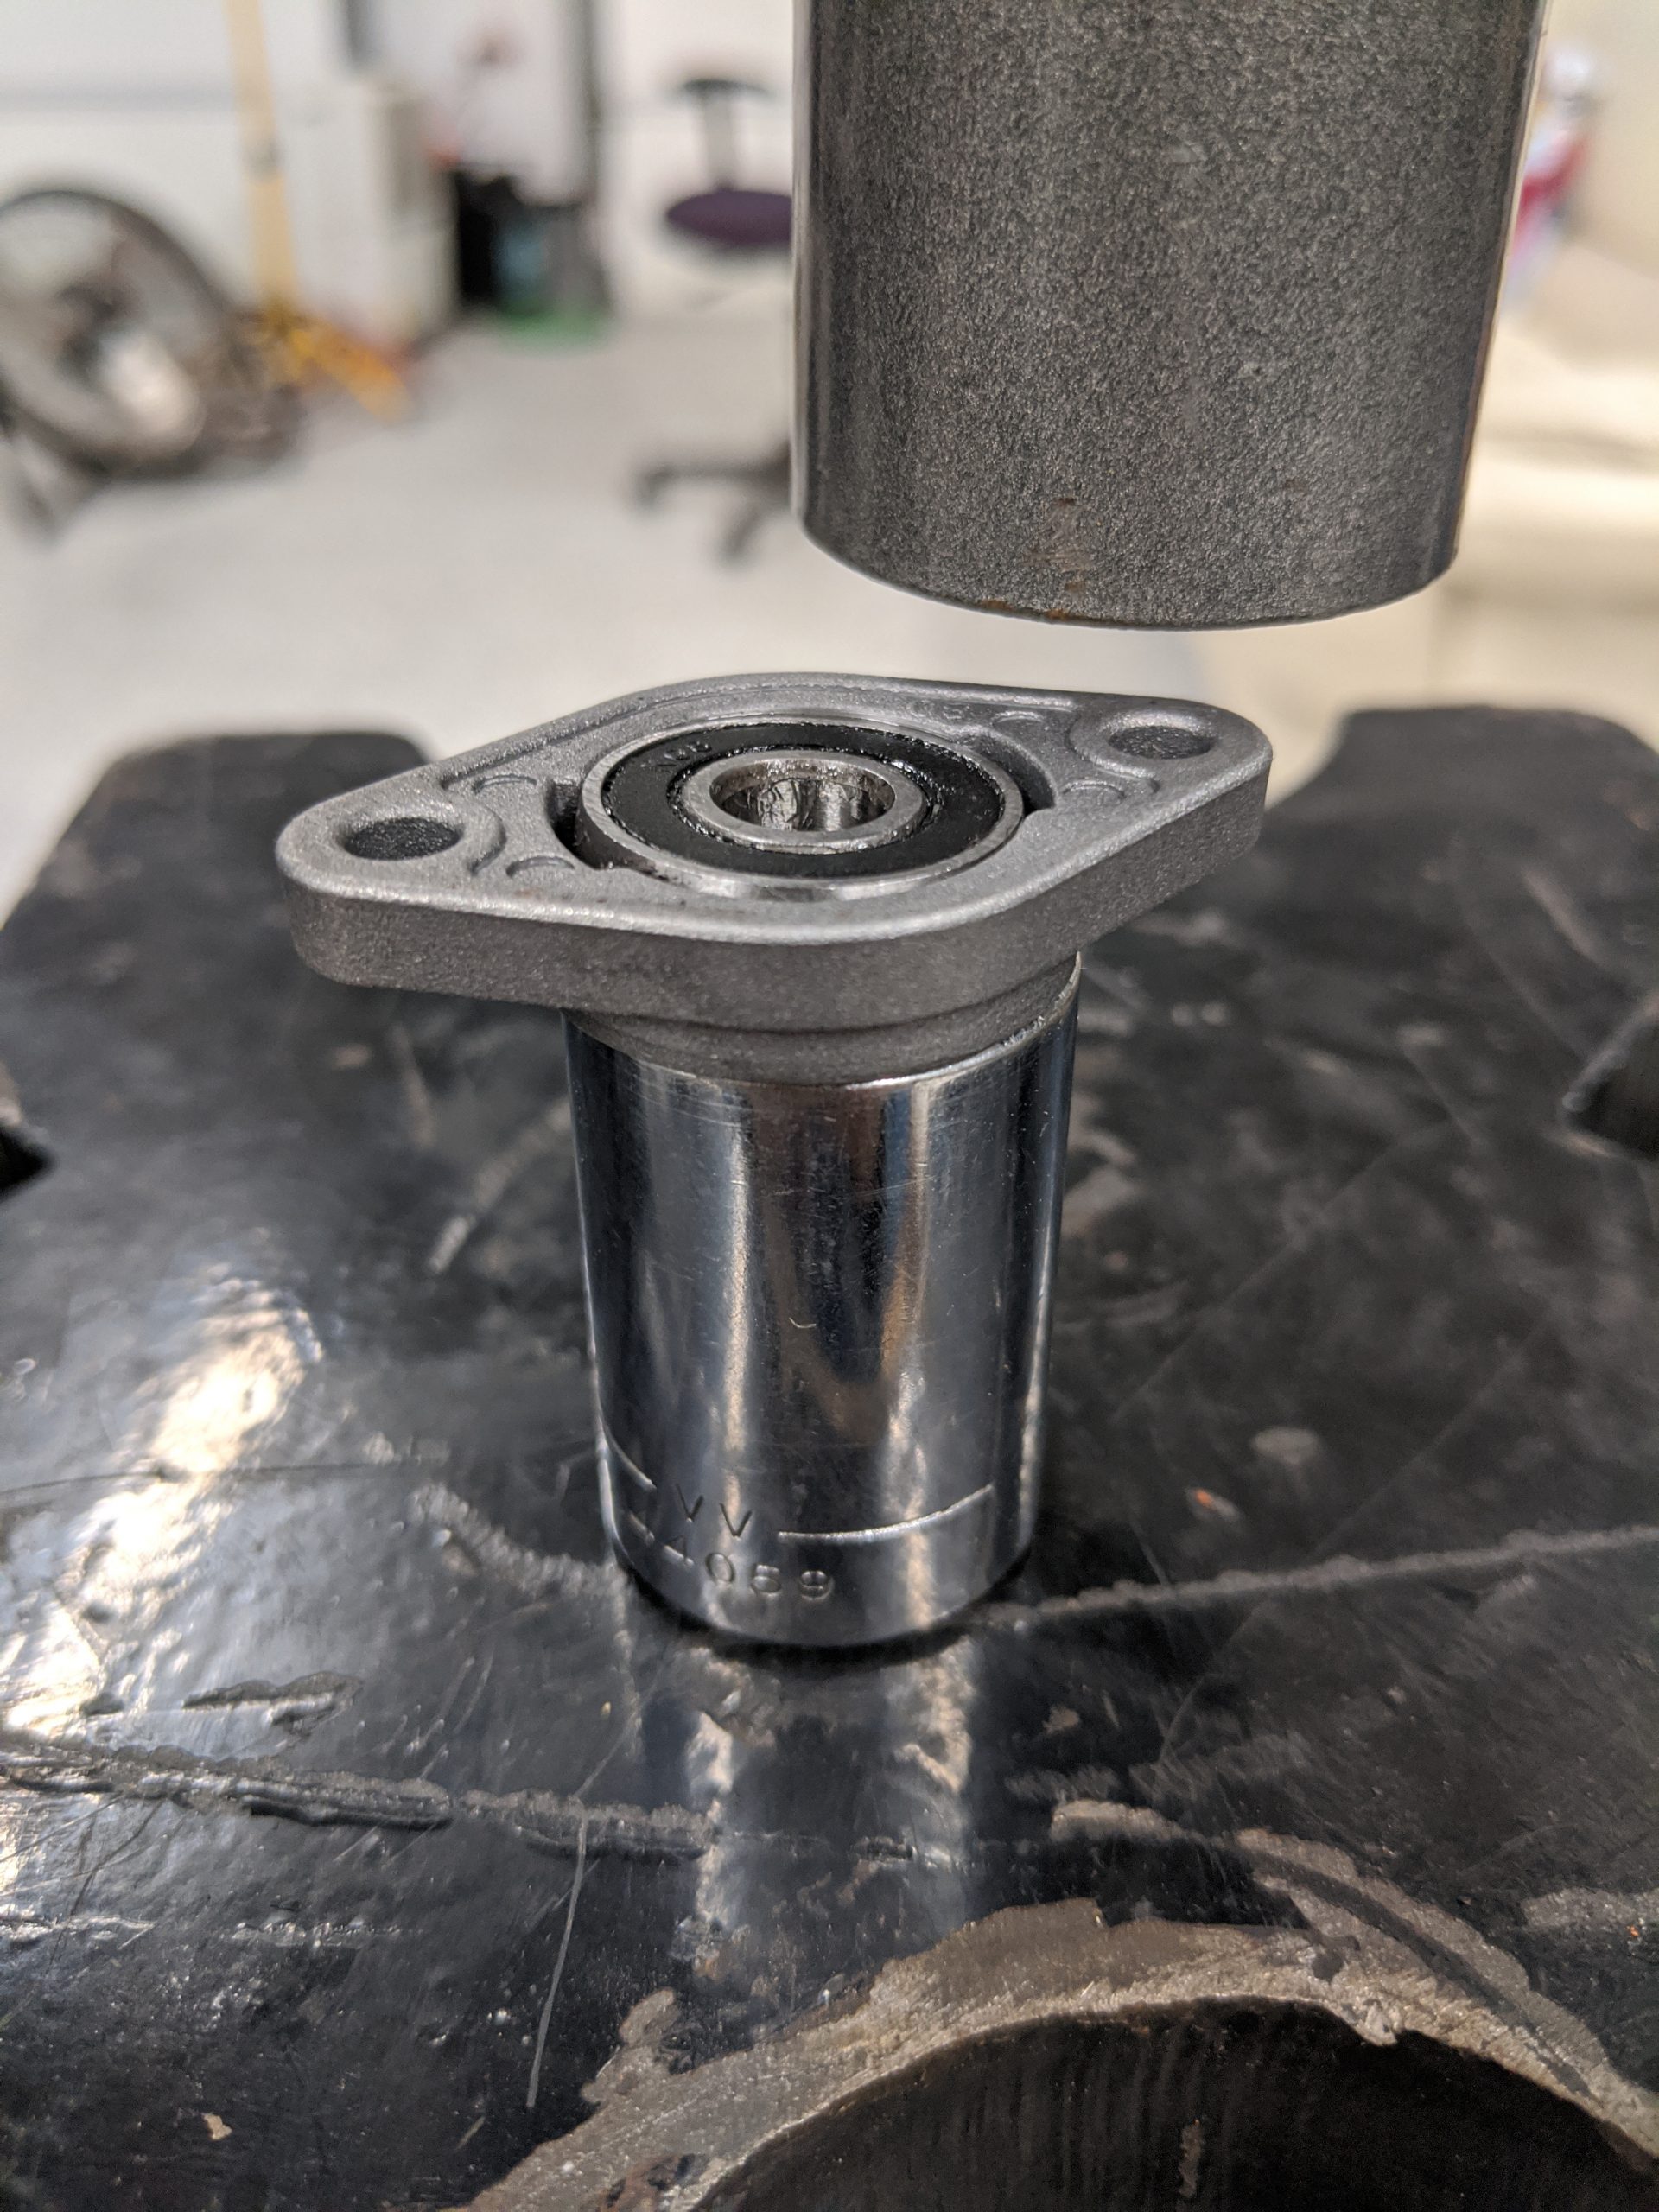
Lucky for me, at home I have access to a 20 Ton hydraulic press thanks to my well equipped father:
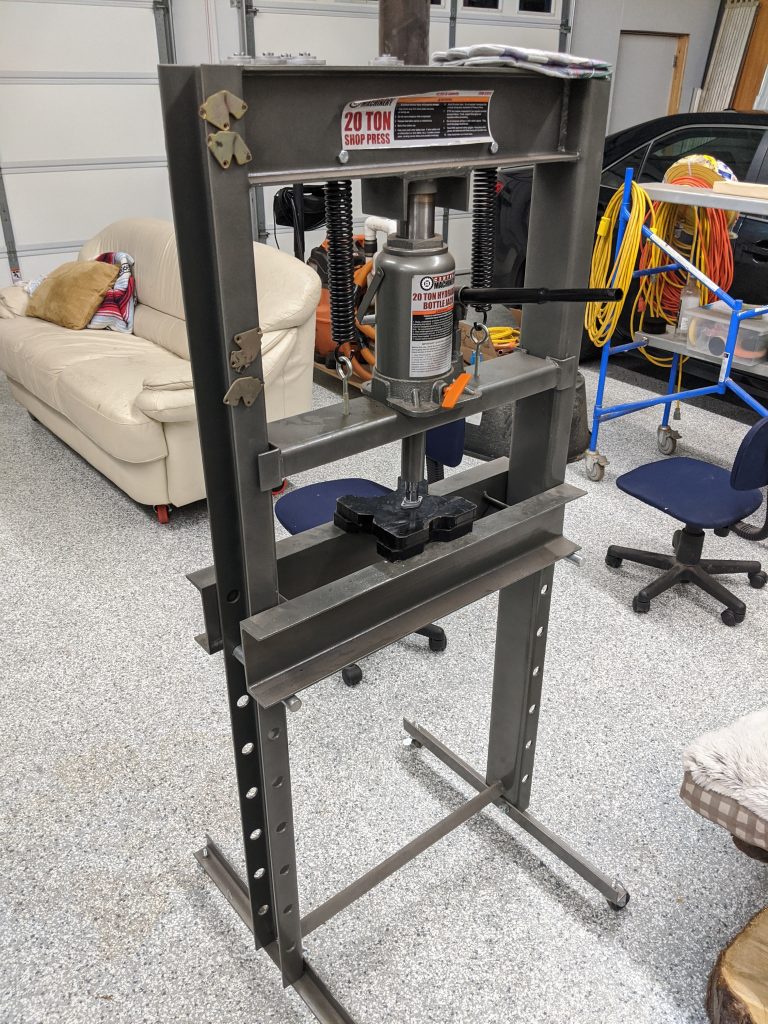
I think this will do the job. So it’s important to make sure we aren’t just pressing just anywhere on the bearing….

The axle and black bearing guard should not have any significant pressure placed on them, but pushing on the outside housing of the bearing is completely fine. It’s a rather thin wall so finding something that fits right might be pretty tough…..
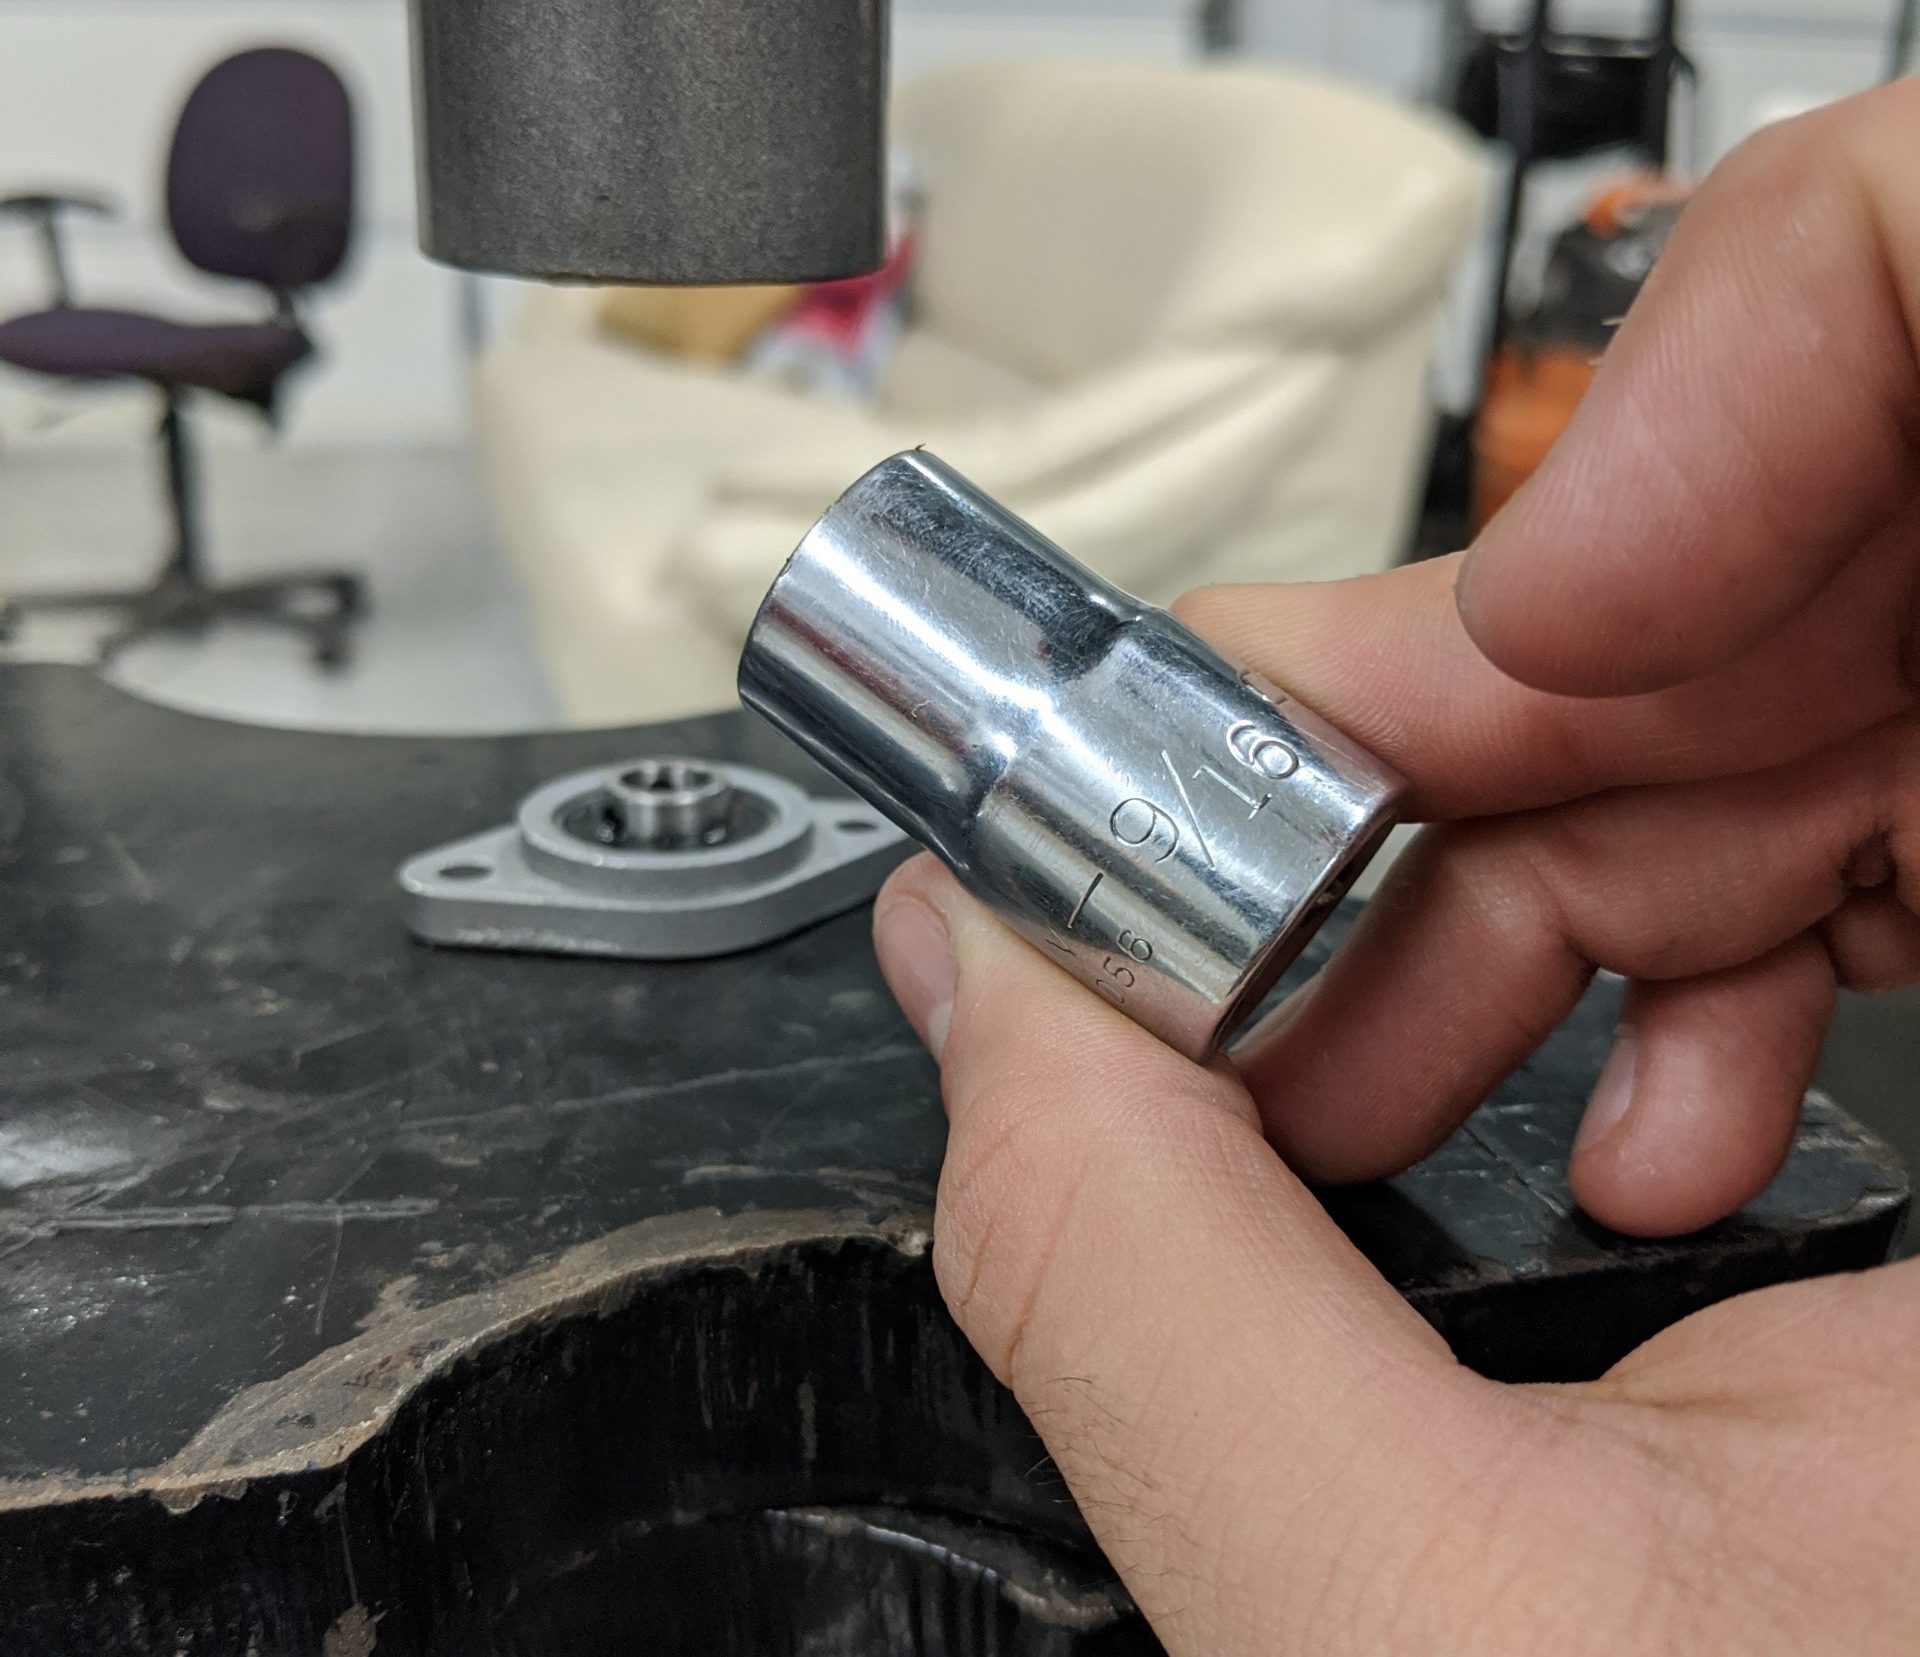
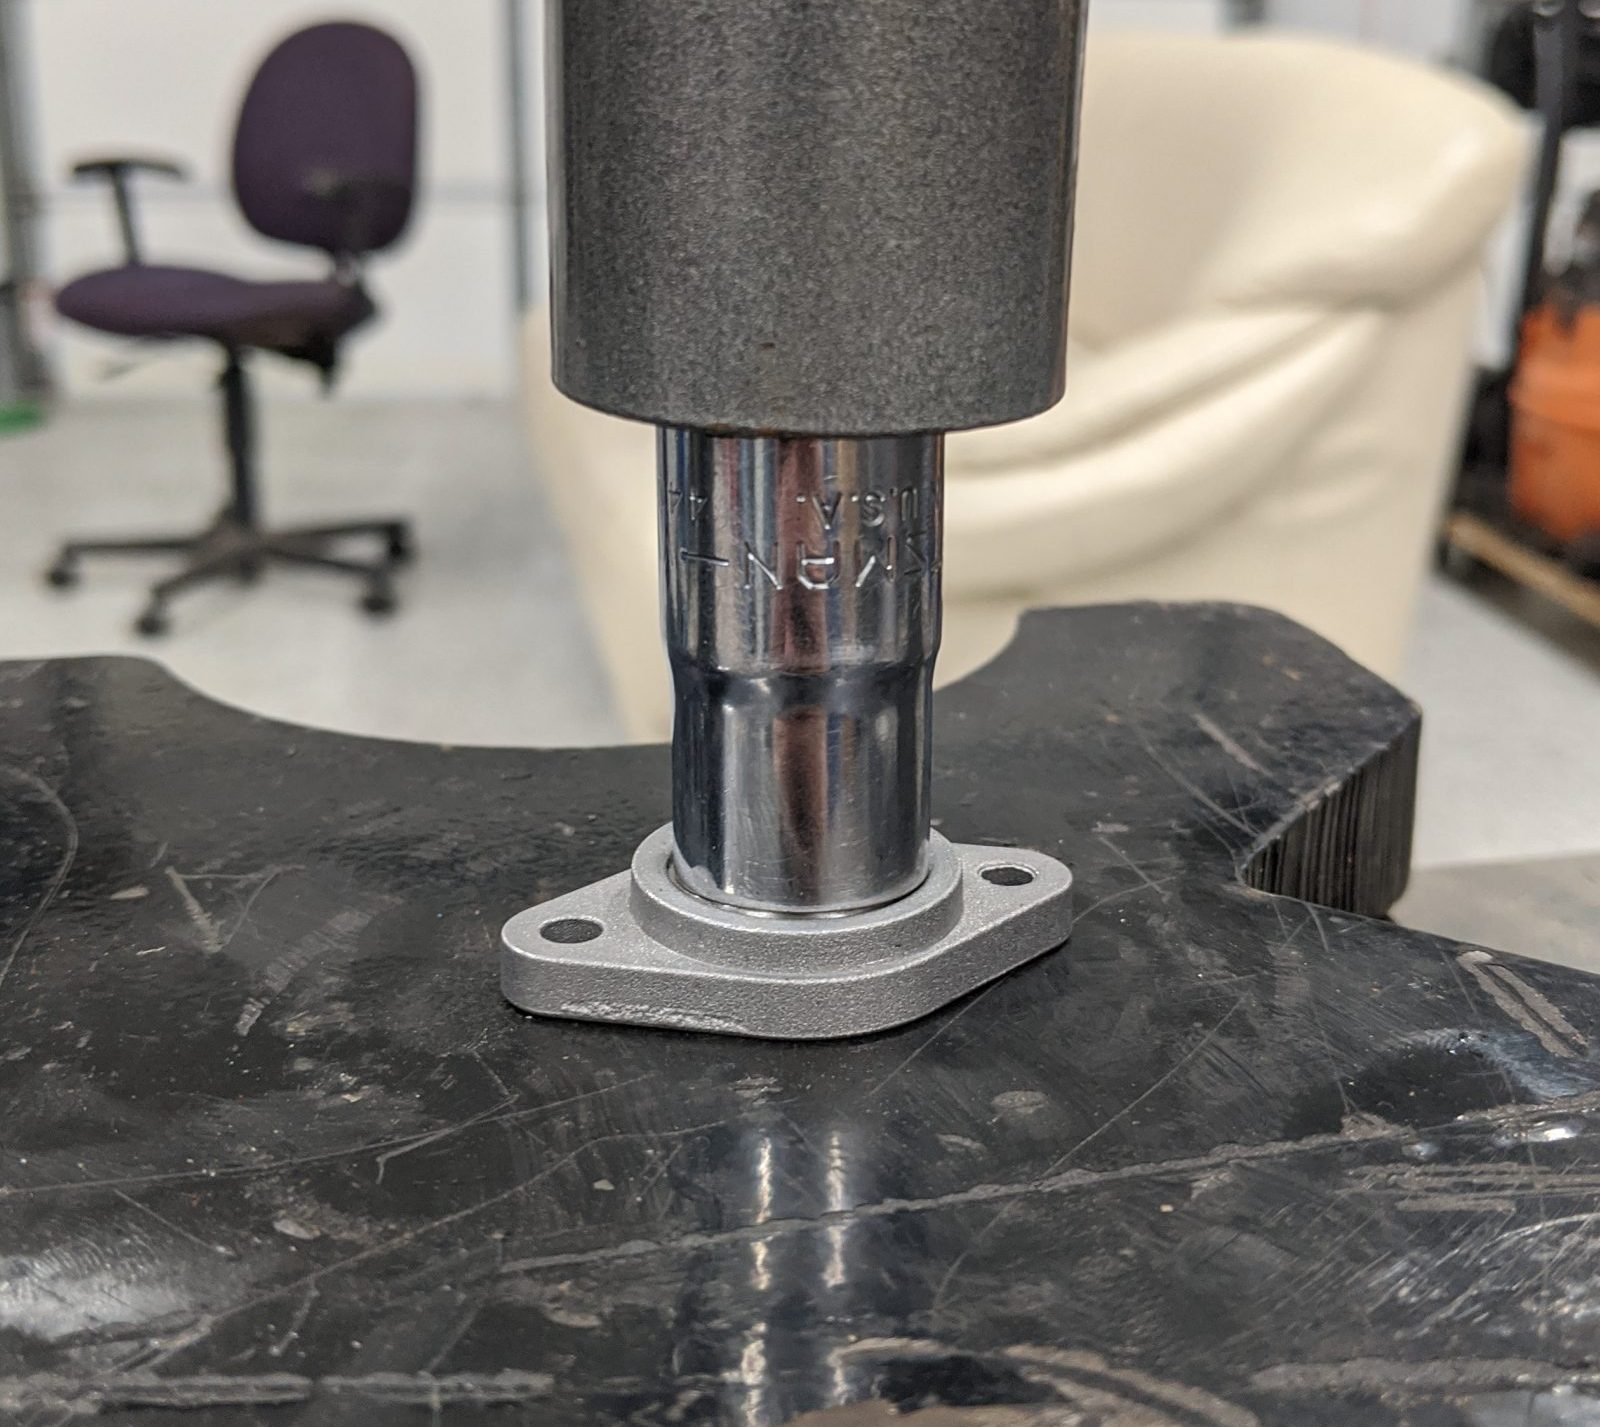
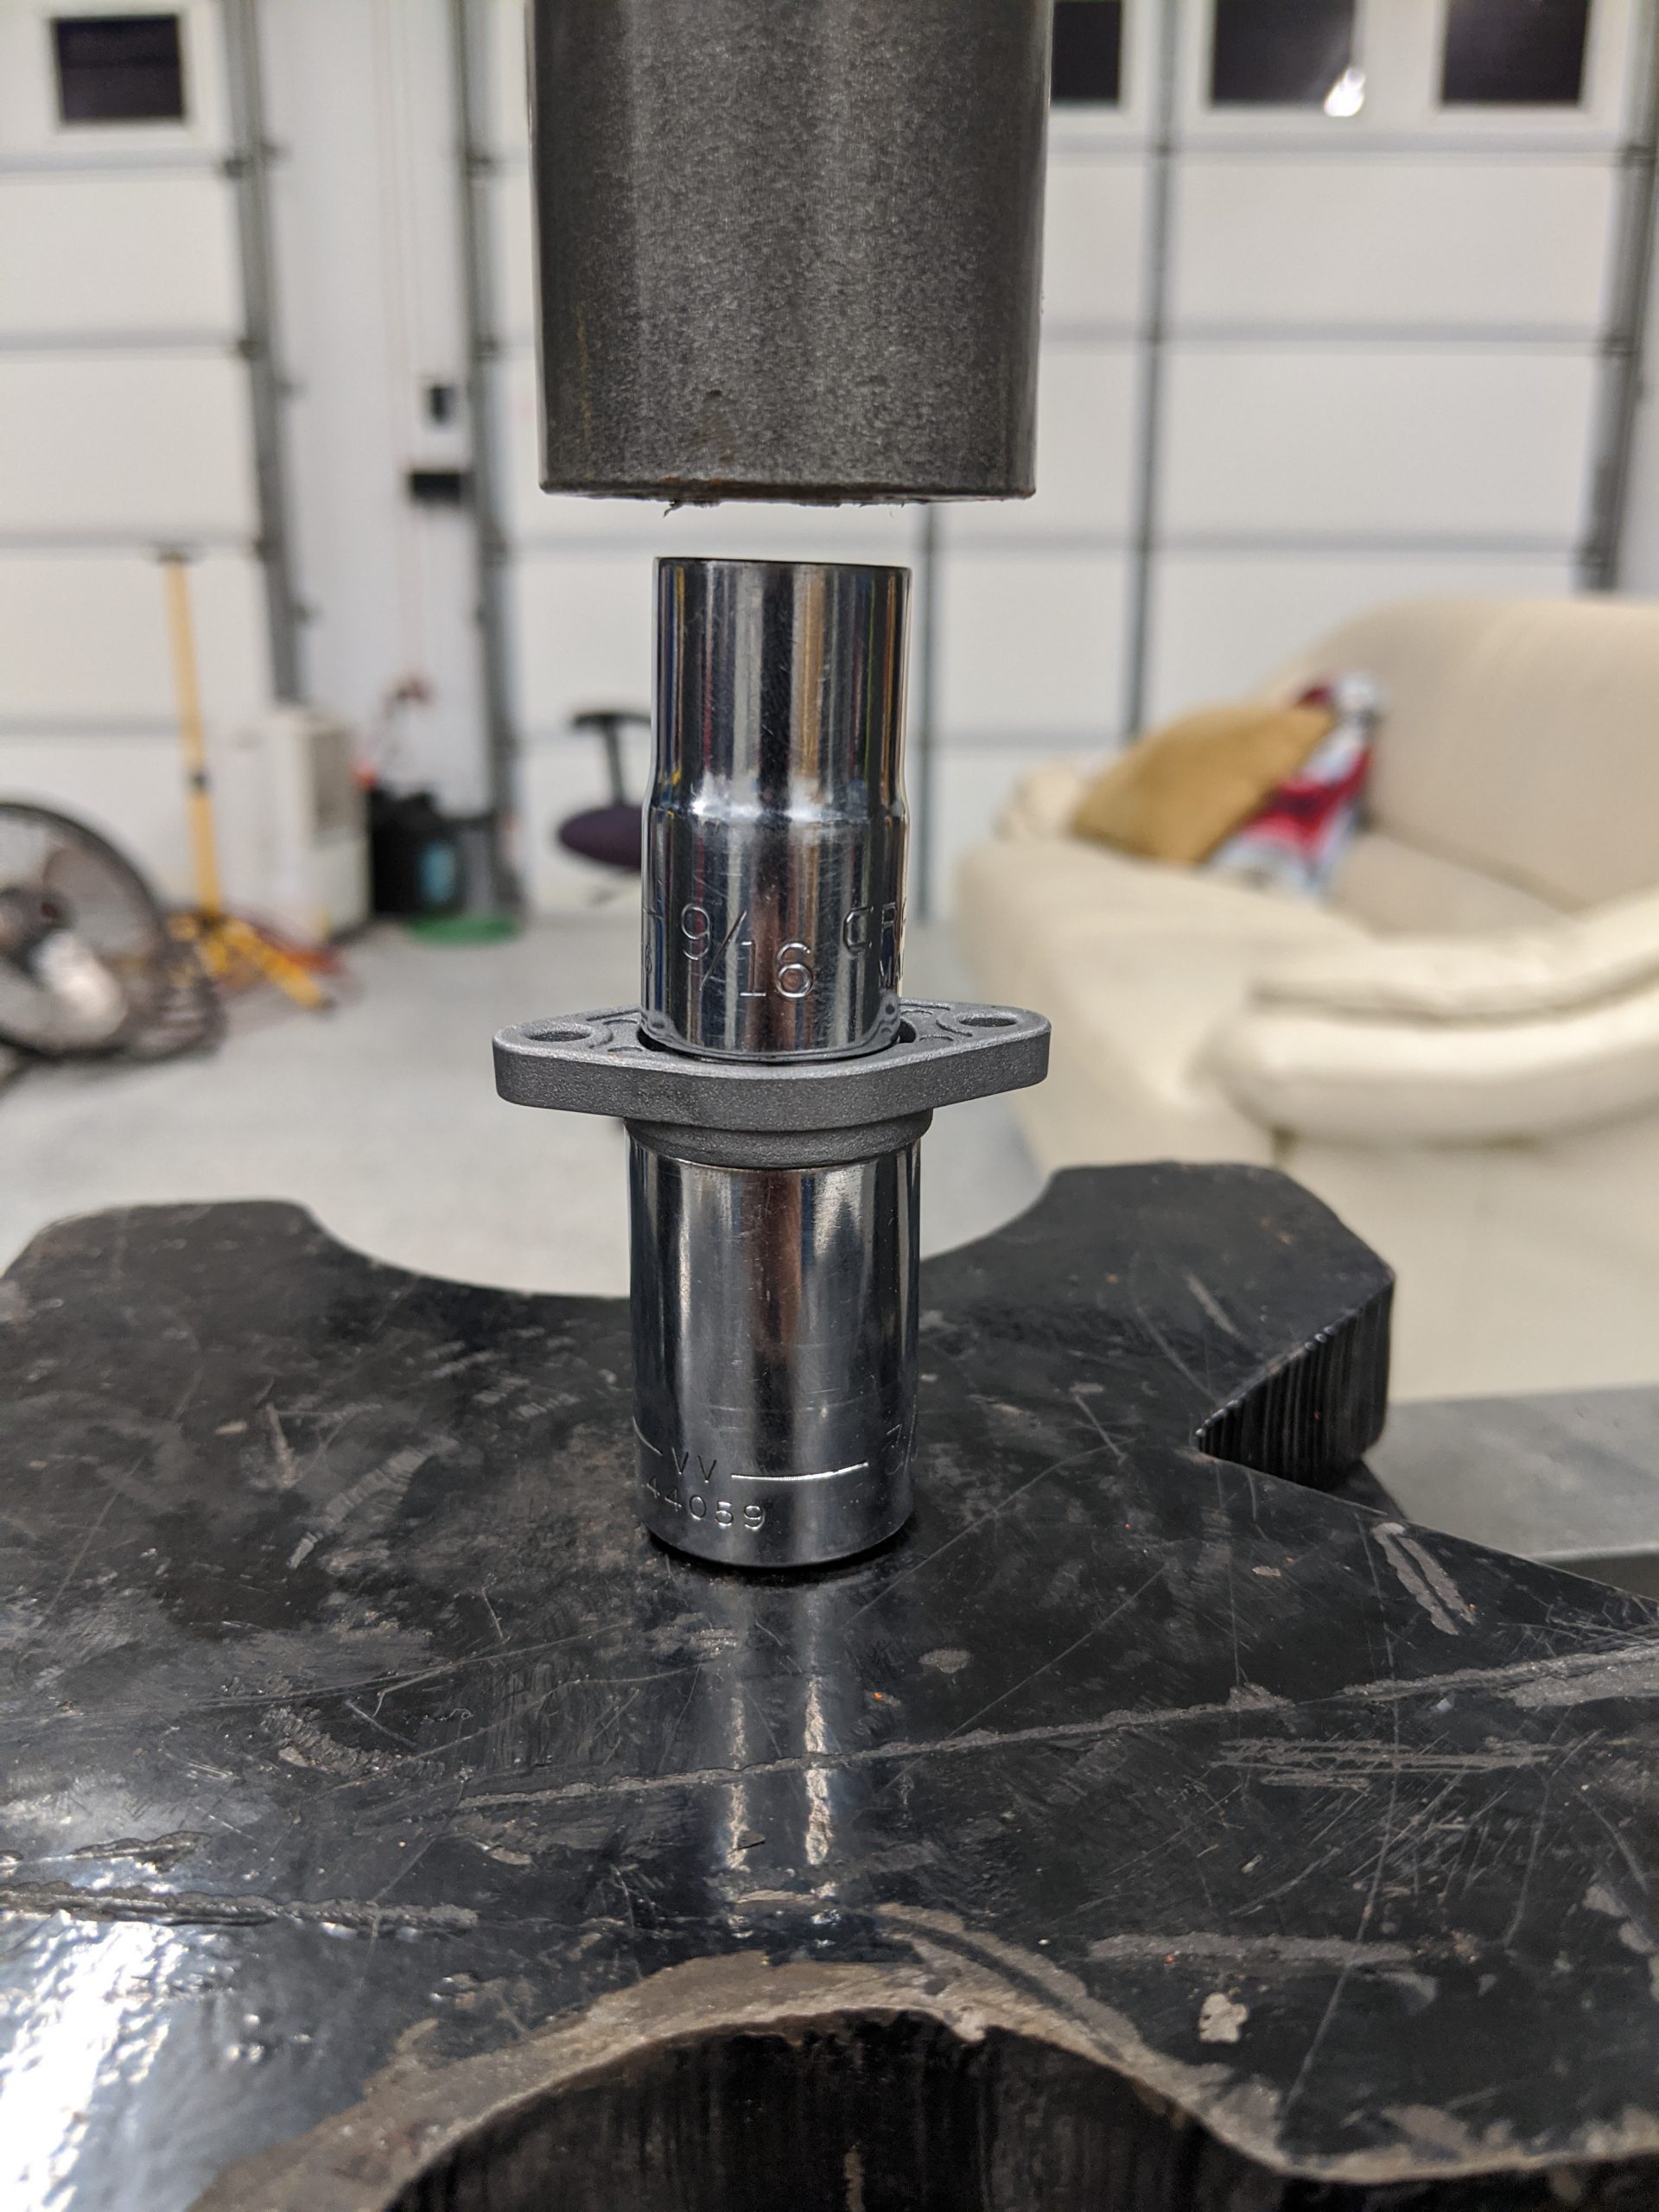
But no! 9/16″ socket turns out to fit practically perfectly! Fantastic, I just popped that on top, pressed it down, and good as new! Barely moved the bearings, but pushed them right down and flush. But the particularly messed up bearing (as seen at the top) needed a little extra work:
It was so crooked it was popped out the bottom of the block housing and the socket couldn’t sit on the bearing on top. So I got a bigger bearing to hold the housing, pushed the bearing back up through the housing so I can seat the socket on the top side of the bearing and push it back through as I did above.

Good as new. Well, maybe good as refurbished, but practically the same. These are actually usable now, so I couldn’t be more happy.
Thankfully I had access to this amazing little machine, made this process a lot easier. I still have to test them more significantly, but from what I have seen this seemed to fix them completely.
Next post is going over the aluminum extrusion for for the frame!