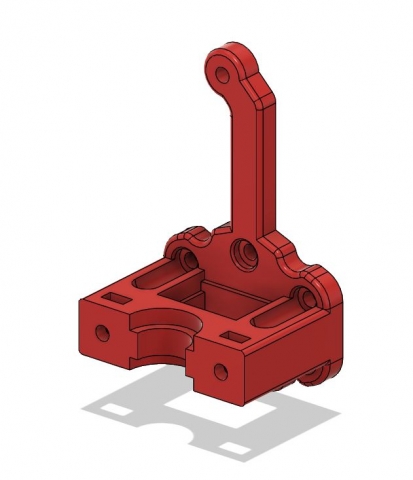
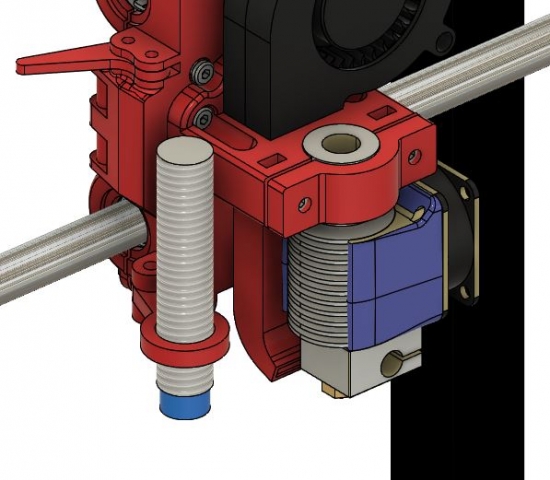
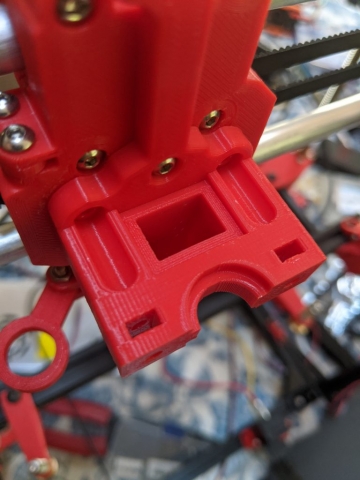
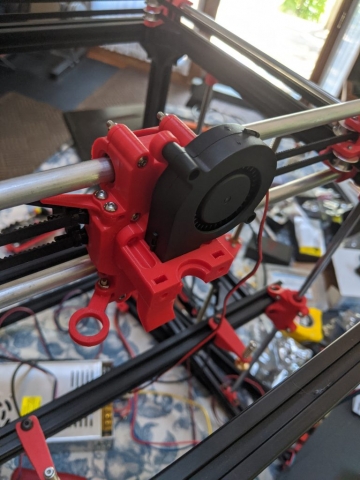
Last post went over the X Carriage, this post will show the E3d Mount that secures to the faceplate of the X Carriage. This piece is meant to hold the Hot End securely and provide a space for the fan duct for part cooling. If you read the X Carriage post you know I designed this piece to be modular so I could quickly update the design or add different ends to the printer for some cool modifications and experiments.
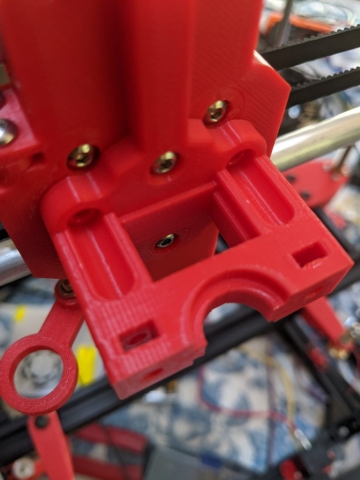
This mount design features 6 mounting screws to attach to the X Carriage. To make enough space to actually secure these screws I was forced to add little divots to the main mount to all me to get in with an Allen Wrench. The top and bottom screws must go on before anything else as they are hidden by other parts in the assembly. I am not a huge fan of these mounting points as it means if you want to switch the mount you have to basically take it all apart to get it off and when you put it on it has to be in a specific order rather than just pop on and off. This is a more deeply rooted problem with the X Carriage itself and then the bars the X Carriage actually slides on, so it would require quite a redesign. Ill deal with the annoyance for now.
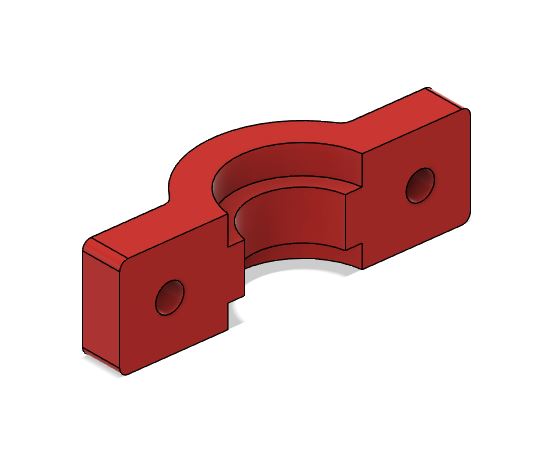
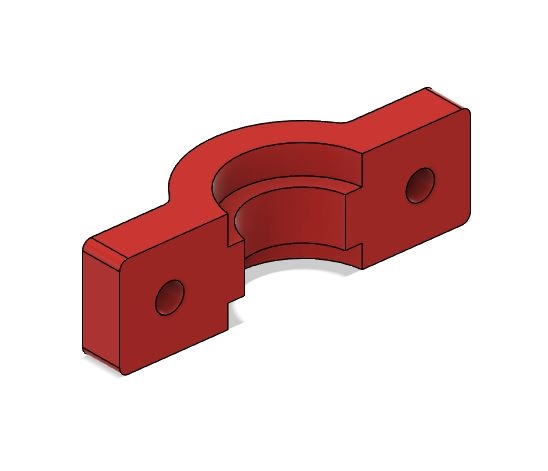
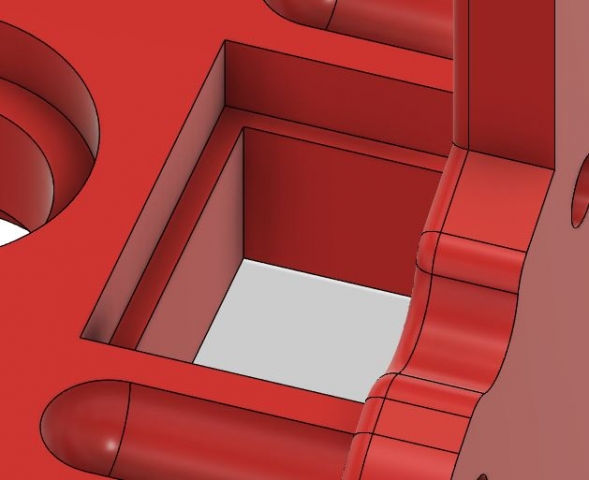
As for Mounting Cap, it is a pretty straight forward piece. The most annoying part of this is the little pockets I ended up putting into the Mount to house the nuts for the 2 mounting screws that go on the outside of the Cap. As said many times before I looked towards the Hypercube for the majority of my inspiration and it does basically the same thing. I was hoping to figure a better way of designing this but although its annoying and definitely has its problems, it works for now and is the most straight forward way of doing it.
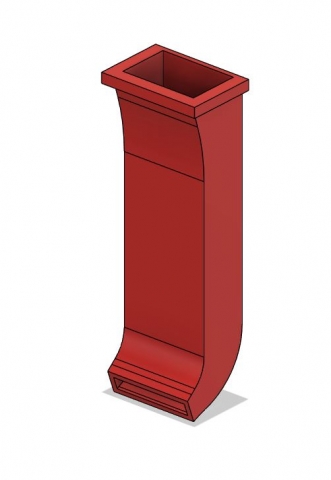
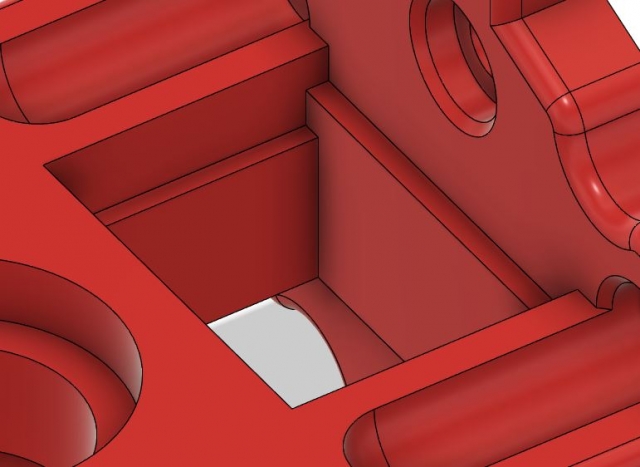
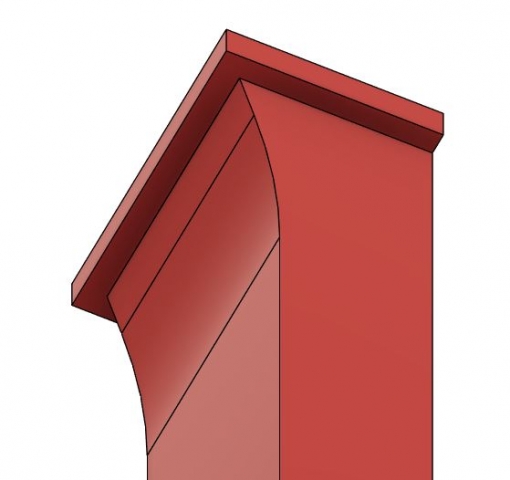
The long arm that stretches upwards is to secure the fan for the part cooler. It is able to snug fit into the hole in the mount with a little lip to hold it at the correct depth. This depth is stepped in that hole, however, to allow space for the Fan Duct itself. The Duct has a fitting lip that will slide into that hole and line up flush with the top step of the hole. This creates a flat lip for the Fan to mount to that is about the thickness of the Fan itself to allow for a snug fit and clear airflow.
It took a little bit to dial in the tolerances correctly, but after a couple test prints I got everything fitting snugly. It’s quite satisfying a fit and seems to all work pretty well. All in all this mount looks like it will serve its purpose. I’m definitely interested in a full redesign, but if I don’t move forward I will be stuck in redesigning hell.
Next posts will be going over the snap clip design I came up with and the print bed assembly.

